My wife and I recently took a quick overnight trip to Stillwater, MN for our anniversary. We came out of the Dock Cafe right around dusk, and I saw some opportunities for some pictures that I thought could be cool, but knew that a single standard exposure would not capture the reality of what is there. I hadn’t ever tried HDR photography before, but knew enough about it to know that it’d take the results of several bracketed images and let me build an image that captured what I actually saw. So I went ahead and took four sets of bracketed images – the first set I did 7 images, and the rest I did 9 images. Once I got back home, I figured I’d do some searching to see how to assemble them, and came across a HDR tutorial at Stuck in Customs. I used that tutorial as a baseline, but edited the workflow a bit as I went.
[ad name=”Google Adsense 728×90″]
Set #1: Stillwater Lift Bridge
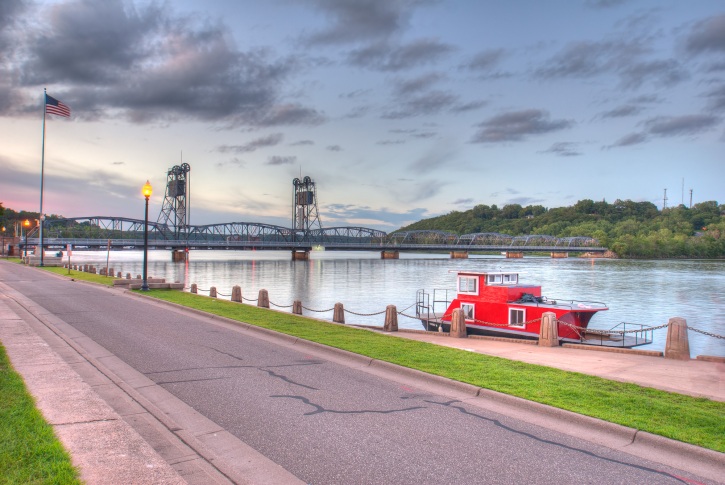
This is a photo of the Stillwater Lift Bridge – a major landmark in the area. I also love the old-school houseboat in the foreground! The HDR image above was built from 7 bracketed exposures, where the others were built from 9. I think this is my favorite out of these first four I’ve tried. My process for this image:
- Import the raw images (I always shoot in raw on my D200, got tired of JPEG long ago) into Lightroom 3
- Select the seven raw images in Lightroom, right-click, go to Export->Photomatix Pro (Note – this assumes that you have Photomatix installed as per the article above!)
- Select 16-bit TIFF for the output type, ‘Generate HDR Image’, ‘Go Directly To Tone Map’, and enable the automatically-add-to-Lightroom option, with stacking. This will stack the final image with the first image (which is the image that you would get from the camera if you weren’t bracketing), and makes it easy to find for processing.
- Ran through the Photomatix process as recommended in the Stuck in Customs article, until things looked ‘right’.
- After I was satisfied with the HDR image, I opened the final image in Photoshop, and did some artifact correction (replaced the wavy flag caused by multiple exposures with a breeze blowing the flag around, and cleaned up some ghosting from a person entering the frame from the right as the images were taken.) I also did a bit of minor color correction to get things to ‘pop’ a bit, and did noise reduction with NeatImage Pro.
If you are interested, here are the original images this was assembled from, in order of exposure:
As you can see, the HDR version just has more ‘pop’ than any of the others – but I didn’t take it to an extreme.
Set #2: “Old Building”
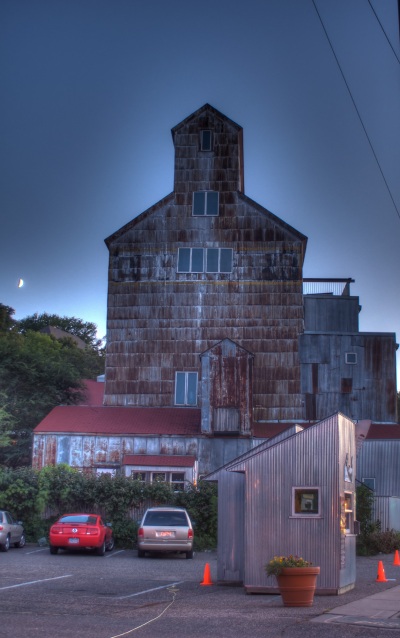
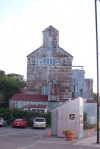
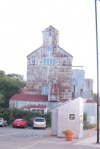
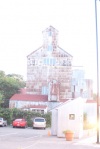
This image is of a building that you can see from the road by The Dock Cafe if you look back towards Highway 36. Not sure what the building is – would love to hear from anyone who does know! This was assembled from 9 images, using the same technique as above – the only difference is that I did not need to do any artifact correction. Original images..
[ad name=”Google Adsense 728×90″]
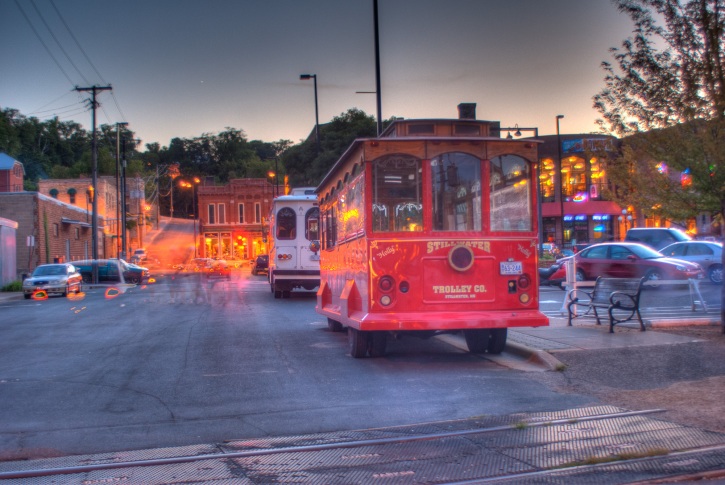
Set #3: Stillwater Trolly
This image is also taken from the street right in front of the Dock Cafe. It is of the Stillwater Trolly, which was shut down for the day by this time. 9 original images; I did not edit the final result, but should have – there are a ton of artifacts present in it. I didn’t really like the final result all that much so I haven’t bothered.. but if anyone else enjoys it I will either make raw copies available or do the work. ;) Originals..
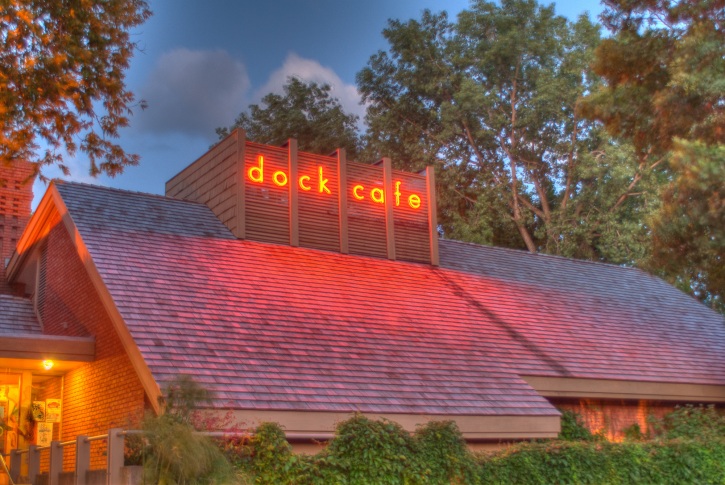
Set #4: The Dock Cafe logo
Last attempt of the night is a shot of the logo for the Dock Cafe (good food and atmosphere by the way!) Again, not all that happy with my HDR result, so didn’t edit out the artifacts in the lower-lefthand corner. Originals..
That’s all folks..
So that’s it for my first foray into HDR! Love to hear what anyone else who has played around with HDR thinks of my results, critiques and flames are welcome. I’d also love to hear from anyone who hasn’t touched it yet but would like to! :) Thanks for reading and hope it was interesting at the least!






Nice HDR photos. I’d love to try it some time. I think I’ll give it a shot! :)
Do it! It’s not hard. ;)
I think the hardest part for me will be figuring out what types of scenes would look the best in HDR.. will have to do some research on that.
I can give you an advise if you want,
If I take the second HDR pictures you took(Old Building)
You should redo the process without using the last and most overexposed photo, cause this one is useless to the HDR process and it evens make the final result worse then it should be.
This picture is way too bright, it creates the halo around te building.
The photo number 8 is perfect for you overexposed photo. And by the way you don’t need 9 photos to make an HDR, unless you have a very strange dynamic of light. 4 or 5 is enough in most situations.
Try to make another HDR using the 3-5-6-8 pic, I bet the result will be alot better.
And by the way, I don’t know if you use an alignement sofware, but it makes alot of diffenrence.
I hope it can help you, keep working on it and you should be able to make wonderfull HDR.
Send me an e-mail if you ever try my advise, I would like to see if it really makes a difference.